With the next few posts, I'll try to catch you up on what's been going on around here. Our big project right now is trying to build a stanchion. We need something that can help restrain the water buffalo while we do veterinary work on them. They are due for shots and toe trimming and one of these days, the girls might just need a pregnancy check. The latter involves a plastic glove that goes up to the vet's shoulder. Got the picture? While the buffs might be chill with any or all of the procedures, we don't want to take a chance the first time out. Plus, having a place where I can keep a buffalo in one place without her wandering off should come in handy when it's milking time.
A larger cattle or buffalo operation would probably have a squeeze chute for restraint but that's way too expensive and unwieldy for our little farmstead. So, we decided to build a milking stall with a headgate using a modified version of something we saw on the Keeping a Family Cow website. Jim worked up plans sized to fit our growing buffs and taking into consideration their agility and craftiness.

Behind the girls in the photo above is the lower barn. That's where we're building the stanchion. It is nicely set up for a straight shot from the main pasture on one side to the fish pond on the other. We sunk posts in concrete in the middle of the dirt floor and built a low deck supported by three 4x6s.
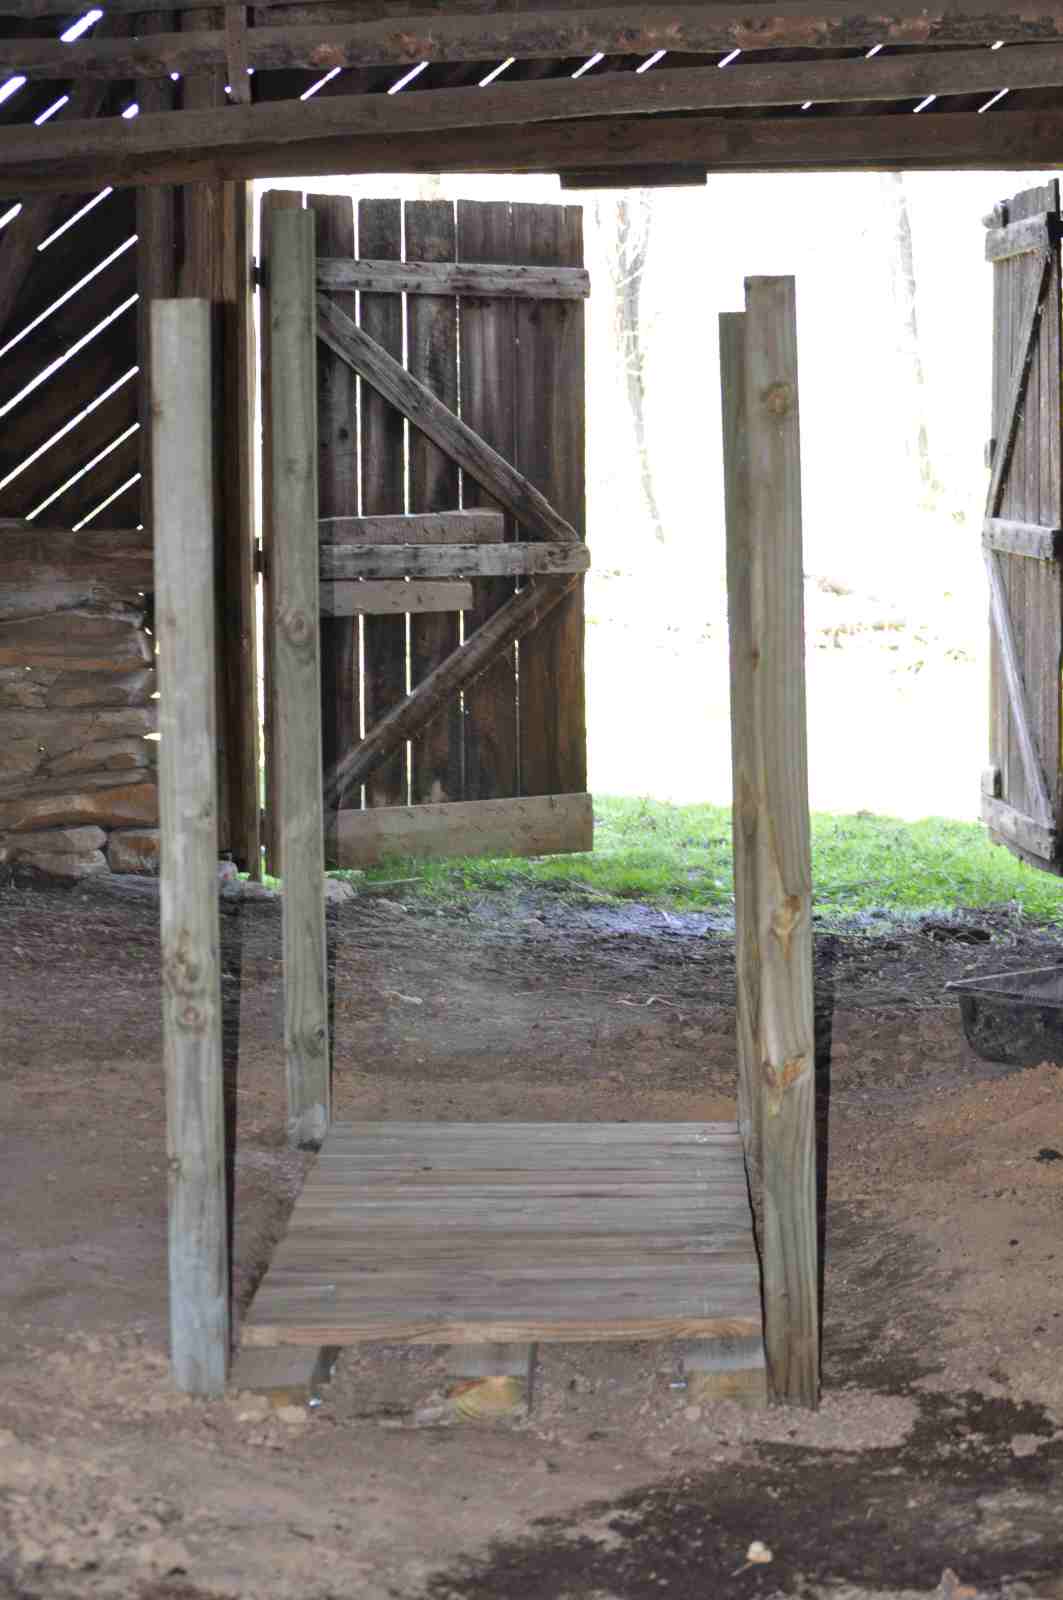
Next, we added some side rails:

In the photo above, you may see a bunch of corral panels leaning up against the wall. Those will form the corridor running between the doors and the stanchion.


Since I last took photos, we have erected the corridor, built (but not yet attached) the headgate, and introduced the buffs to the setup. Fortunately, the buffs showed no fear or hesitation about going through. Unfortunately, the buffs immediately zeroed in on all of the weaknesses. Eschol immediately put his horns to use, lifting the corral panels off of their hinges and Effie discovered that she could duck under the side rails. So, the to-do list got longer.
We were hoping to avoid putting lower rails on as they will get in the way of milking and trimming toes but I think I've figured out a way to install 2x4s that can be slid out of the way after the buff is restrained in the headgate. We've also installed pivoting blocks that keep the corral panels from being lifted by the buffs but can be turned for easy access when we need to move a panel aside. We are using strap and pin hinges for the swinging headgate. The pins are in and we just need to attach the straps to the headgate, then we should be ready to hang it and give the buffs another shot at testing our work.
The last step, I hope, will be to check the fit of the headgate on each buff to determine where the locking mechanism needs to be installed to ensure a snug but not uncomfortable fit. Sounds straightforward enough, but if you don't see any more posts from me, you'll know it has all gone horribly wrong.

No comments:
Post a Comment